What will you get in Download folder
We include in the Download-
- Microsoft Word DOCX file
- Used font and support file.


Step 1. Open/Installation:
After open Adobe photoshop (Please install if you have no one), follow this instruction-
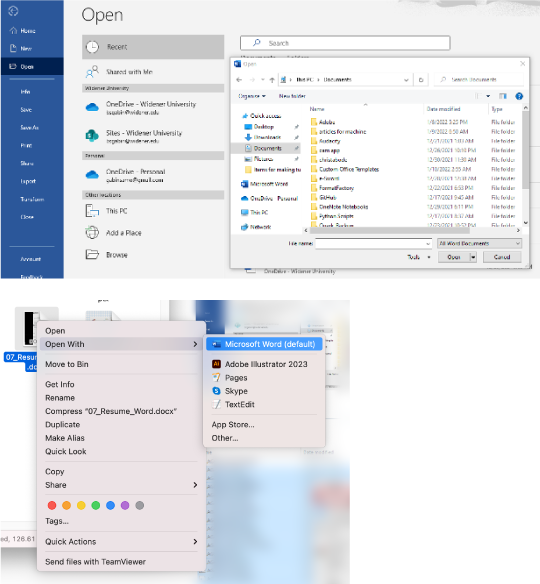
• >File > Open, from the Menu.
• Browse the location and open the downloaded file.
Another option or opening the PSD file is to right-click it and select “open with / Adobe Photoshop.”
Before open the file, please install required fonts.
Step 2: Install all required fonts
• Download the font files. These are frequently delivered in.zip folders. You may find many variations on the same typeface, such as “light” and “heavy,” in a single.zip folder.
• Unzip the font files if they are zipped by right-clicking the.zip folder and selecting Extract. Now you’ll notice the TrueType and OpenType font files that are available.
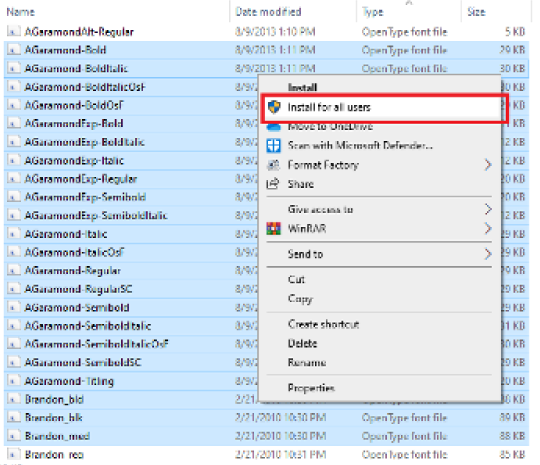
• Right-click the fonts you want to install and select Install.
• Install the font by right-clicking it. If you’re asked if you want to allow the application to make changes to your computer, and you trust the font’s source, click Yes. Your new fonts will be uploaded to Word’s fonts list.
Here are two more methods for installing and managing fonts:
• All fonts are saved in the C: WindowsFonts folder. You can also add fonts to this folder by dragging font files from the extracted files folder. They will be installed automatically by Windows. To see how a typeface looks, open the Fonts folder, right-click the font file, and then select Preview.
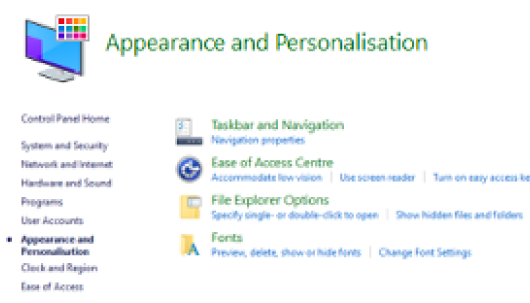
• Control Panel is another way to view your installed fonts.
• Go to Control Panel > Fonts in Windows 7 and Windows 10
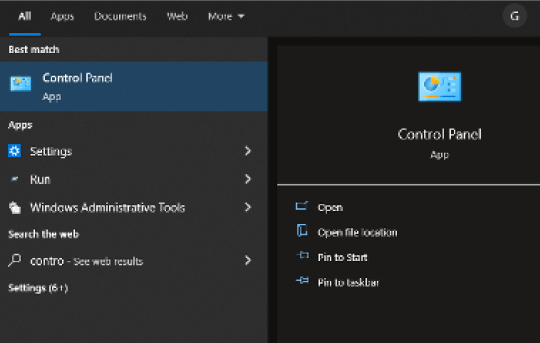
• Go to Control Panel > Appearance and Personalization > Fonts on Windows 8.1
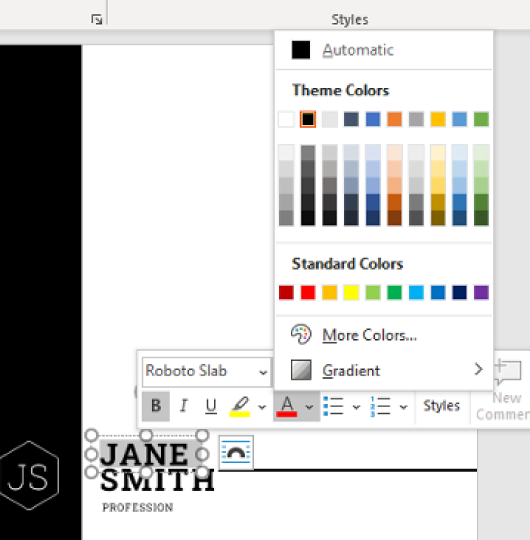
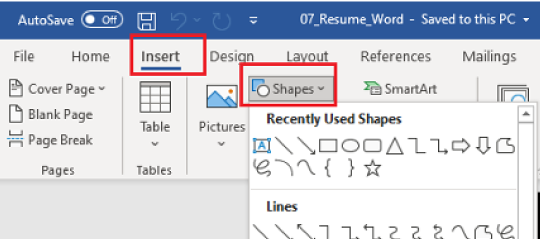
Step 3: Edit texts, Shapes, and Colors.
• Click on the shape you want to change.

• Beneath Drawing Tools, on the Format tab, in the Insert Shapes group, click on Edit Text.
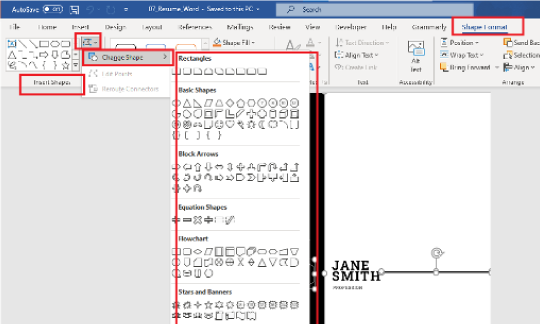
If you can’t find the Drawing Tools or Format tabs, ensure that you selected a shape.To edit multiple shapes, press and hold SHIFT while clicking the shapes that you wish to change.

• Under Text Box Tools, on the Format tab, in the Text Box Styles group, click on Change Shape, and then click the shape that you desire.
• To change the color, select the text that you want to change. Choose the arrow next to Font Colors on the Home tab, in the Font group. Then select a color.
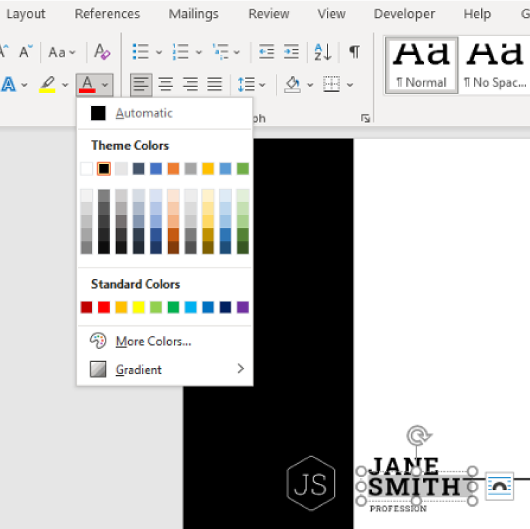
• You can equally use the formatting options on the Mini toolbar to quickly format text. This toolbar appears automatically when you select text.