Business cards, envelopes, letterheads, labels, postcards, flyers, brochures, and other similar marketing emissaries are all included in editable Adobe Illustrator templates, with bright graphic design elements which when professionally edited, can help your business stand out.
With only a few simple steps, you can edit every single aspect. Simply customize your design by adding your own text, photos, or graphics.
Step 1: Open Illustrator and select a handy template.
- Click Open after the download is finished. The template will appear in the Saved tab the next time you visit.
- Jump-start your business card design with an Adobe Stock tem- plate containing rich visual designs. Change the artwork, typog- raphy, and colors to make it unique.
- Once you open the Simple Business Card template, you can make any changes you want.
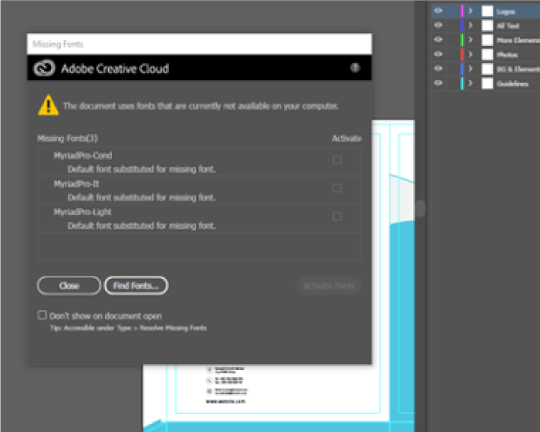
- To use the same fonts in the template, if the Missing Fonts window appears, click Activate Fonts. You can always change the fonts later if you want.
Step 2: Install all required fonts.
- Most fonts used from Google font, Dafont and Fontsquirrel, they offer free fonts.
- Search for the missing font name that’s causing the problem.
- After you’ve found the font, download it.
- The font file you select is in.ttf format.
- To install the.ttf file, simply double-click it.
- Last but not least, restart Illustrator.
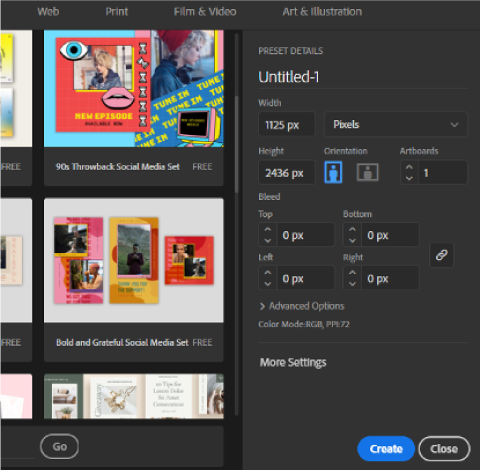
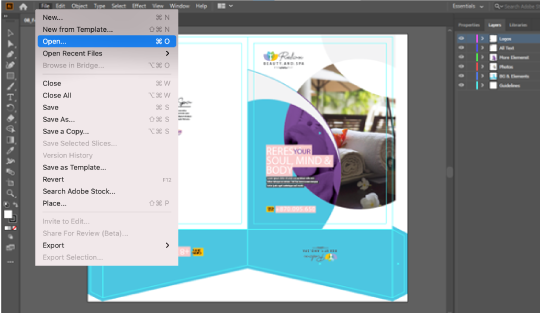
Step 3: Create a new document using a open.
- Choose one of the following options:
- Select File > Open (Ctrl/Cmf+0)
- Locate and select the downloaded file, then click Open.
Step 4. Edit Text, and Color.
It’s not only about changing fonts and colors when it comes to text editing. Check out what else you can do with text to make your design pop.
4.1. Change your character’s appearance.
The basics! In the Properties > Character panel, you may modify text colors, fonts, and spacing, among other things. The Character panel appears automatically when you pick the text.
- If you need to edit all text in one style, start by selecting it using the Selection Tool (V). Starting from the beginning? To add text, select the Type Tool (T).
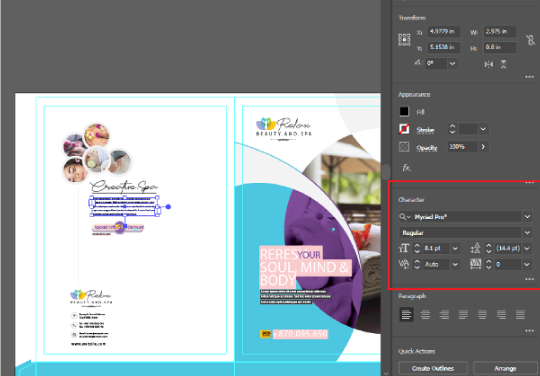
Another option is to use the Type Tool or double-click on the text, which will instantly transition to the Type Tool, allowing you to change the text area you wish. Text, for example, can be custom- ized with different colors and fonts.
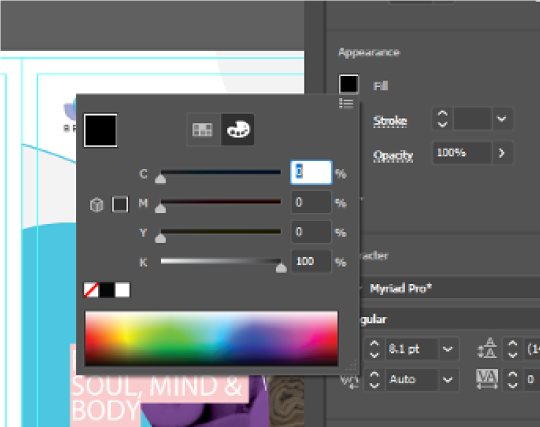
- In the Character panel, change the font, style, or spacing. If all you want to do is change the font, go to the overhead menu Type > Font and choose a different font. Follow me to the next step if you need to add or change colors.
- Choose a color from the Swatches panel or double-click the Fill Tool to bring up the color picker. If you already have a sample color image, you can use the Eyedropper Tool (I).
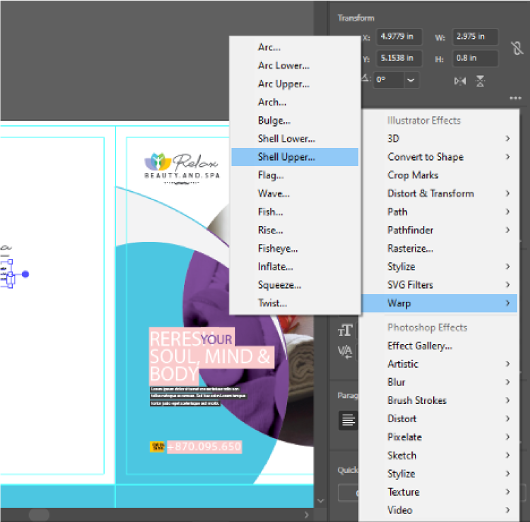
4.2. Apply text effects
Text can be used for a variety of purposes. You can, for example, curve text or apply other effects to make your design more interest- ing and complicated.
- Choose the text you’d like to change.
- Select an effect from the above menu Effect > Warp.
- From the Warp settings, you can apply 15 distinct effects on text.
- To create unusual text effects, you can also use the Type on a Path, Distort & Transform, or Envelope Distort tools.
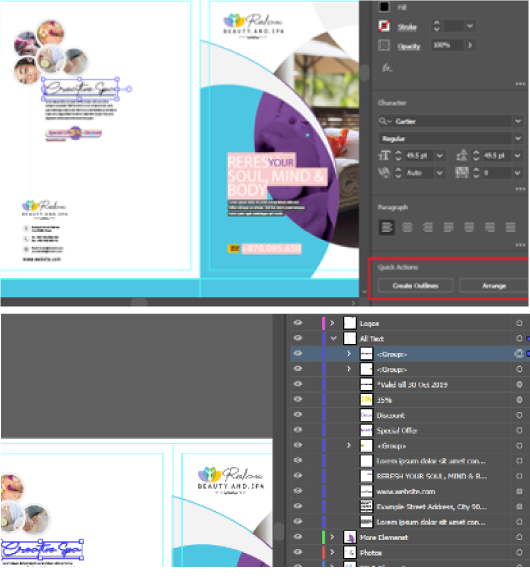
4.3. Reshape your text.
When creating a logo or a new font, this process comes in handy. You don’t want to use just any font when designing a logo since it looks plain, and you risk running into copyright concerns if you don’t purchase a business license for the font. Plus, creating your own font is always fun.
- Make a rough outline of the text. Select the text, right-click, and choose Create Outlines, or use the Shift+Command+O keyboard shortcut.
- Separate the text into groups. Ungroup the text by right-clicking on it.
- Select the Direct Selection Tool and the individual letter you want to reshape (A). There are a lot of anchor points in the text.
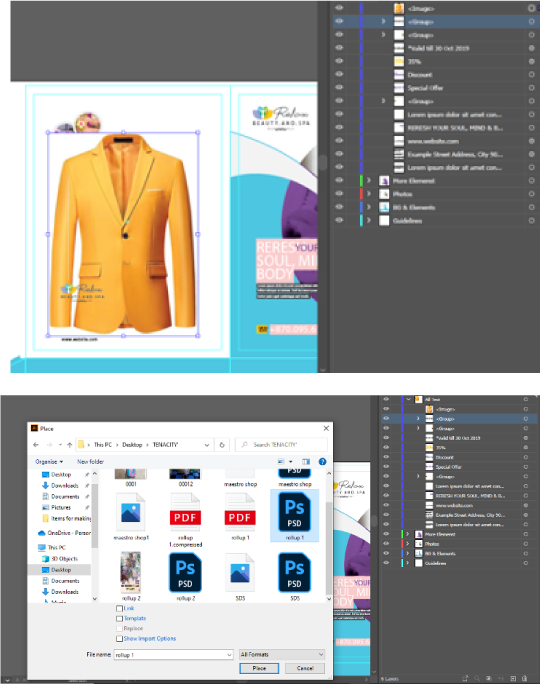
Step 5: Add Image
Because it supports most file formats, positioning choices, and color, the Place command is the preferred method of importing an image.
- Use the Links panel to identify, select, monitor, and update a file once it has been placed.
- Open the Illustrator document where you want the image to go.
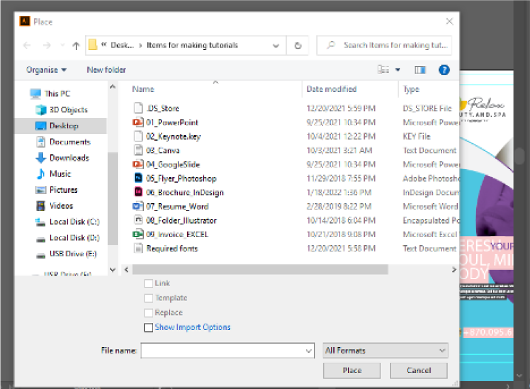
- Select the text file you want to place from File > Place.
- Deselect Link to embed the image in the Illustrator document, or select Link to generate a link to the asset. Place your cursor there.
Do one of the following, if applicable:
- You can choose which page of a PDF file with multiple pages to place and how to crop the artwork/image if you place a PDF file with multiple pages.
- To import your Photoshop artwork directly onto an Illustrator artboard, do the following:
Select File > Place from the File menu. A dialog box displays, allow- ing you to select a file from your PC or from your cloud documents. Open the Cloud document by clicking the Open button.
- Choose a cloud document from your files to open.
- Select your PSD cloud document and click Place.
- In the Properties panel, select Linked File to get the information about the linked file.